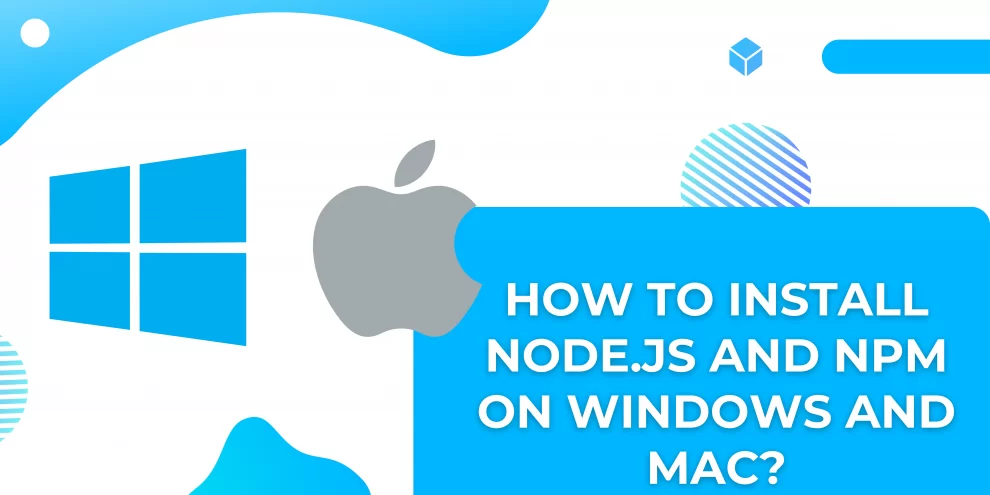
Welcome to the dynamic realm of web development, where your coding adventures begin with the essential step of “Node.js and NPM Installation.” If you’re eager to dive into the powerful combination of Node.js and NPM, you’re in the right place. In this comprehensive guide, we’ll walk you through the step-by-step process of Node.js and NPM Installation on both Windows and Mac operating systems.
Node.js, an open-source, cross-platform JavaScript runtime, and NPM, the Node Package Manager, form the backbone of countless web applications. These tools empower developers, whether seasoned or just starting their programming journey, to build scalable and efficient solutions. Getting Node.js and NPM up and running on your local machine is a crucial first step for anyone venturing into web development.
In the following sections, we’ll demystify the installation process, providing guidance for both Windows and Mac users. No need to worry if you’re new to terminals and commands – this guide is crafted to be beginner-friendly, ensuring a smooth and hassle-free installation experience. Join us on this journey as we empower your coding capabilities through the installation of Node.js and NPM.
Getting Started
Embarking on your Node.js and NPM installation journey is an exciting first step toward unlocking the full potential of web development. For Windows users, kickstart the process by visiting the official Node.js website and downloading the Windows installer. Once the download completes, a user-friendly installation wizard will guide you through the setup, making the entire process a breeze.
Mac users, fear not! The road to Node.js and NPM on your system is just as straightforward. Head to the Node.js website, select the macOS installer, and let the download commence. The installation process on a Mac is designed with user-friendliness in mind, ensuring that you’re up and running in no time. In the upcoming sections, we’ll delve into the specific steps for each operating system, ensuring that regardless of your platform, you’ll be equipped with the tools you need for a seamless development experience. So, let’s dive in and get your environment ready for coding excellence.
Also Read: Difference between Node.js and React.js
Node.js Installation on Windows
Welcome to the exciting journey of installing Node.js and NPM on your Windows system! Whether you’re a seasoned developer or just getting started with coding, this step-by-step guide will walk you through the process, ensuring a seamless setup for your development environment.
Download Node.js Installer:
To kickstart the installation process, head to the official Node.js website at nodejs.org and navigate to the “Downloads” tab. Here, you’ll find the Windows installer. Be sure to choose the version that matches your system architecture—either 32-bit or 64-bit. For most modern Windows installations, the 64-bit version is recommended.Accept License Agreement:
Once the installer is downloaded, run the executable file to initiate the installation wizard. The first screen you encounter will present the Node.js welcome message along with the license agreement. Take a moment to read through the terms, and if you agree, click “Next” to proceed.Choose Destination Folder:
The installation wizard will prompt you to choose the destination folder for your Node.js installation. In most cases, the default location is perfectly suitable. However, if you have a specific directory preference, feel free to customize the destination by clicking “Browse” and selecting your desired location.Install Node.js:
With the destination folder selected, click the “Install” button to begin the installation process. The wizard will now take care of setting up Node.js on your Windows machine. This may take a moment, so grab a cup of coffee and let the magic happen.Complete Installation:
Once the installation process is complete, you’ll see a screen confirming the successful setup of Node.js. This screen will also provide an option to install additional tools, such as the Chocolatey package manager and the Node.js runtime for Electron. For now, we’ll focus on the core installation, so click “Finish” to exit the wizard.
Verification
To ensure that Node.js has been successfully installed, open the Command Prompt and type the following command:
node -vThis command will display the installed Node.js version. Additionally, you can verify the installation of NPM (Node Package Manager) by typing:
npm -vIf both commands return version numbers without errors, congratulations! You’ve successfully installed Node.js and NPM on your Windows system.
Exploring Node.js on Windows
Now that Node.js is up and running on your Windows machine, let’s take a moment to explore some basic commands and understand how Node.js works.
Running a Simple Node.js Script
Create a new file with a .js extension, for example, app.js, and add the following code:
// app.js
console.log("Hello, Node.js!");
Save the file and open the Command Prompt. Navigate to the directory where you saved app.js using the cd command. Once you’re in the correct directory, run the script with:
node app.jsYou should see the output “Hello, Node.js!” on the console, indicating that your Node.js installation is functioning correctly.
Installing NPM Packages
NPM makes it easy to manage third-party packages and libraries for your projects. Let’s install a simple package as an example. In the Command Prompt, run:
npm install lodashThis command installs the popular utility library lodash. You can then use lodash functions in your Node.js projects.
Updating NPM
It’s a good practice to keep NPM up to date. Run the following command to update NPM to the latest version:
npm install -g npmThe -g flag ensures that the update is applied globally.
Also Read: Integrating MySQL with Node.js Applications
Node.js Installation on Mac
Node.js is an open-source, cross-platform JavaScript runtime environment that executes JavaScript code outside of a web browser. It is widely used for developing server-side applications, as well as desktop and mobile applications. Node.js is popular among developers for its event-driven architecture, non-blocking I/O, and vast ecosystem of open-source libraries.
If you’re a developer looking to get started with Node.js on your Mac, this comprehensive guide will walk you through the installation process step by step.
Prerequisites
Before you begin, make sure you have the following:
- A Mac computer running macOS 10.14.6 or later
- An internet connection
- Administrator privileges on your Mac
Download the Node.js Installer
- Visit the official Node.js website: https://node.js.org/en/download/
- Under the “LTS” (Long-Term Support) section, click on the “macOS Installer” button.
- The installer file will be downloaded to your computer.
Run the Node.js Installer
- Once the download is complete, open the downloaded installer file.
- Follow the on-screen instructions to install Node.js.
- Accept the license agreement and choose the desired installation location.
- Make sure the “NPM package manager” option is selected.
- Click on the “Install” button to proceed with the installation.
- The installer will install Node.js and NPM on your Mac.
Verify the Installation
- Open the Terminal application on your Mac.
- Enter the following command to check the Node.js version:
node -v- The Terminal should display the installed Node.js version.
- Enter the following command to check the NPM version:
npm -v- The Terminal should display the installed NPM version.
Update NPM and Node.js
- It is recommended to update NPM and Node.js to the latest stable versions.
- To update NPM, enter the following command in the Terminal:
npm install -g npm@latest- To update Node.js, you can use the Node Version Manager (NVM).
Additional Notes
- You can use Homebrew, a package manager for macOS, to install Node.js.
- If you encounter any issues during the installation process, refer to the official Node.js documentation for troubleshooting.
Also Read: How To Set Up a GraphQL API Server in Node.js
Conclusion
In conclusion, you’ve embarked on a journey to set up Node.js and NPM on both Windows and Mac platforms, equipping yourself with essential tools for web development. The installation process, meticulously outlined in this guide, empowers developers of all levels to seamlessly integrate Node.js and NPM into their local environments. By following the step-by-step instructions, you’ve laid a robust foundation for crafting dynamic and efficient web applications.
As you’ve successfully verified your Node.js and NPM installations, it’s time to explore the vast capabilities these tools offer. Node.js, with its event-driven architecture and non-blocking I/O, opens doors to scalable and high-performance server-side applications. Meanwhile, NPM simplifies package management, enabling you to effortlessly incorporate third-party libraries and modules into your projects.
With your development environment now configured, take a moment to celebrate this achievement. The journey doesn’t end here; it merely transforms into an exciting exploration of web development possibilities. Whether you’re a coding enthusiast diving into your first project or an experienced developer expanding your skill set, Node.js and NPM stand as invaluable companions on your coding odyssey. Stay tuned for more guides that will delve into advanced configurations, best practices, and hands-on projects to elevate your coding experience. Happy coding!


